Halloween Free Halloween courses
Easy pumpkin carving ideas kids design themselves
A jack-o'-lantern nobody else has: your kid designs the face, and a grown-up carves along the dots.
The easiest way for a kid to carve a pumpkin is to design it on paper first: shapes that carve well, like triangle eyes, a big round mouth, and chunky square teeth. Then your kid tapes the face on the pumpkin and pokes dots along every line, a grown-up carves along the dots, and a battery tea light makes it glow. On this page, three free Kubrio films with Tek show each step.
Your turn!
Draw three pumpkin faces on paper. Make one funny and one spooky. Circle your favorite.
What the film says (Lesson 1 of 3)
Hi, I'm Tek. Want a jack-o'-lantern nobody else has? Let's design your own pumpkin face!
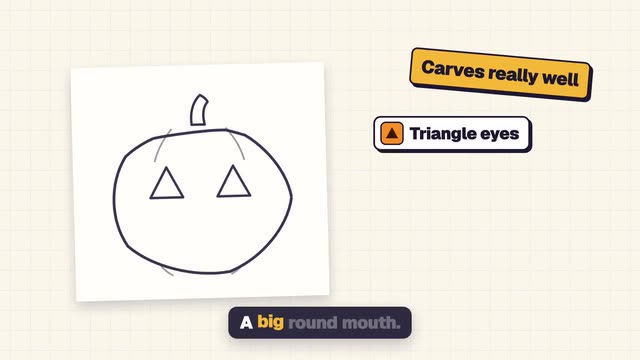
Don't start on the pumpkin. Start on paper. Draw a big pumpkin shape, and try faces inside it.
Some shapes carve really well. Triangle eyes. A big round mouth. Chunky square teeth.
Skip the thin bits, like skinny lines and tiny dots. They snap off when you carve.
Now try a funny face. Wonky eyes, a giant grin, and just one tooth!
Then a spooky one. Slanted eyes, and a zigzag mouth. Boo!
Your turn. Draw three pumpkin faces on paper. Make one funny and one spooky. Circle your favorite, then press Next.
Every lesson
Lesson 1 · 0:57
Design it on paper
Your turn: Draw three pumpkin faces on paper. Make one funny and one spooky. Circle your favorite.
Watch lesson 1What the film says
- 0:00
Hi, I'm Tek. Want a jack-o'-lantern nobody else has? Let's design your own pumpkin face!
- 0:07
Don't start on the pumpkin. Start on paper. Draw a big pumpkin shape, and try faces inside it.
- 0:15
Some shapes carve really well. Triangle eyes. A big round mouth. Chunky square teeth.
- 0:24
Skip the thin bits, like skinny lines and tiny dots. They snap off when you carve.
- 0:31
Now try a funny face. Wonky eyes, a giant grin, and just one tooth!
- 0:37
Then a spooky one. Slanted eyes, and a zigzag mouth. Boo!
- 0:44
Your turn. Draw three pumpkin faces on paper. Make one funny and one spooky. Circle your favorite, then press Next.
- 0:00
Lesson 2 · 0:52
From paper to pumpkin
Your turn: Scoop the seeds, tape on your face, and dot every line. A grown-up does the carving.
Watch lesson 2What the film says
- 0:00
Got your favorite face? Let's move it onto a real pumpkin!
- 0:05
First, a grown-up cuts a lid around the stem. Knives are a grown-up job.
- 0:11
Now you scoop! Grab a big spoon, and scrape out the seeds and the goop. So squishy!
- 0:19
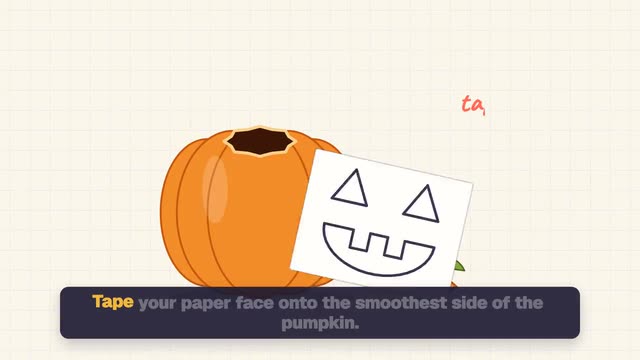
Tape your paper face onto the smoothest side of the pumpkin.
- 0:24
Poke along every line with a pin tool, or with pencil dots. Dot, dot, dot. Peel off the paper, and your face is there in dots!
- 0:34
Now a grown-up carves along the dots. You point to the next shape.
- 0:39
Your turn. Scoop the seeds, tape on your face, and dot every line. A grown-up does the carving. Then press Next.
- 0:00
Lesson 3 · 0:55
Light it up
Your turn: Light it up, snap a photo, and plan the back of the head.
Watch lesson 3What the film says
- 0:00
Your pumpkin has a face. Now let's make it glow!
- 0:05
Use a battery tea light, not a candle. Switch it on, set it inside, and put the lid back.
- 0:12
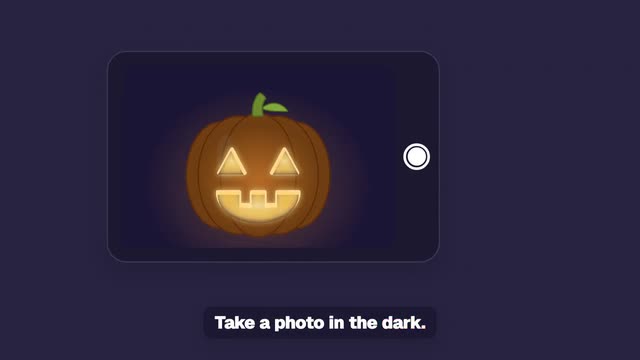
Turn off the room lights. Whoa! Look at that glow!
- 0:18
Take a photo in the dark. Ask a grown-up for a phone, turn the flash off, and hold very still.
- 0:25
Want more? Turn your pumpkin around. The back of its head is empty! Design a second face there. Funny on one side, spooky on the other.
- 0:36
Short on time? You can print a pumpkin face stencil, and dot it on the same way.
- 0:42
Your turn. Light it up, snap a photo, and plan the back of the head.
- 0:47
You made a jack-o'-lantern you designed!
- 0:00
What your kid makes
A jack-o'-lantern with a face your kid designed, and a photo of it glowing in the dark.
What you need
- A pumpkin
- Paper and a pencil
- A big spoon for scooping
- Tape and a pin tool or a sharp pencil for the dots
- A pumpkin carving saw, for the grown-up
- A battery tea light
Questions parents ask
Who does the carving?
A grown-up cuts the lid and does all the carving. Your kid designs the face, scoops the seeds, tapes the paper face on, and dots every line, so the grown-up only follows the dots.
What shapes are easiest to carve?
Big, chunky shapes: triangle eyes, a big round mouth, and square teeth. Skip skinny lines and tiny dots, because they snap off.
Should we use a candle?
Use a battery tea light. It's safer than a candle, lasts all night, and still lets you take a glowing photo in the dark.
Know a family who loves Halloween? Send them this course.

More courses like this one live in Kubrio's kid app, with the studios, for kids 6 to 13. See Kubrio