
Halloween for kids Pumpkin carving ideas Your kid's monster
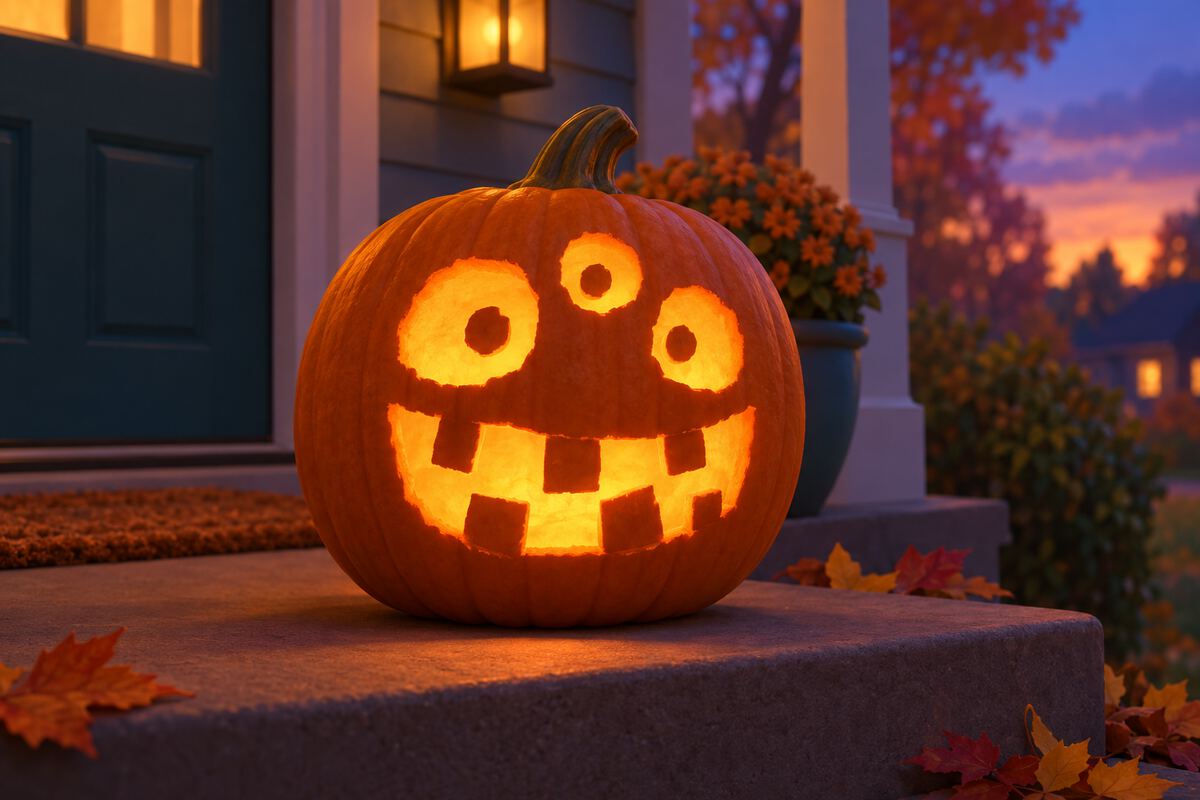
Monster pumpkin carving idea for kids
Ages 6+ · about 1 hour
A monster pumpkin starts with your kid's own drawing: three eyes of different sizes and big, uneven teeth. Draw the teeth as bumps that stay attached to the edge of the mouth, so a grown-up can carve them without any falling out.
What you need
- A pumpkin
- Your kid's monster drawing, or the monster face stencil
- A big spoon
- Tape and a pushpin
- A small pumpkin saw (for the grown-up)
- A battery tea light
How to make it
- Design the monsterYour kid draws a monster face the size of the pumpkin: three eyes, horns, scars, anything. Thick shapes work better than thin lines. Monster Maker or the Pumpkin face maker can print the face too.
- Fix the teethMake sure every tooth touches the top or bottom edge of the mouth. A tooth floating in the middle falls out when it is cut.
- Open it (grown-up)A grown-up cuts a lid around the stem with the knife angled toward the middle, so the lid sits on a ledge and doesn't fall in.
- Scoop it outYour kid scoops out the seeds and strings with a big spoon, then scrapes the inside of the front until the wall is about 2 cm (1 inch) thick.
- Trace and carveTape the drawing on, poke along the lines with the pushpin, and peel it off. A grown-up saws from dot to dot, eyes first and mouth last, going around each tooth.
- Light itPut a battery tea light inside and put the lid back on. It is safer than a candle, and the pumpkin lasts longer.
Tips by age
For younger kids
Wobbly lines are fine: the face your kid draws is the design. A grown-up turns it into thick shapes.
For older kids
Scrape a scar or eyebrows into the skin with a spoon instead of cutting through: the thin skin glows softly.
Make it your own
More ideas like this
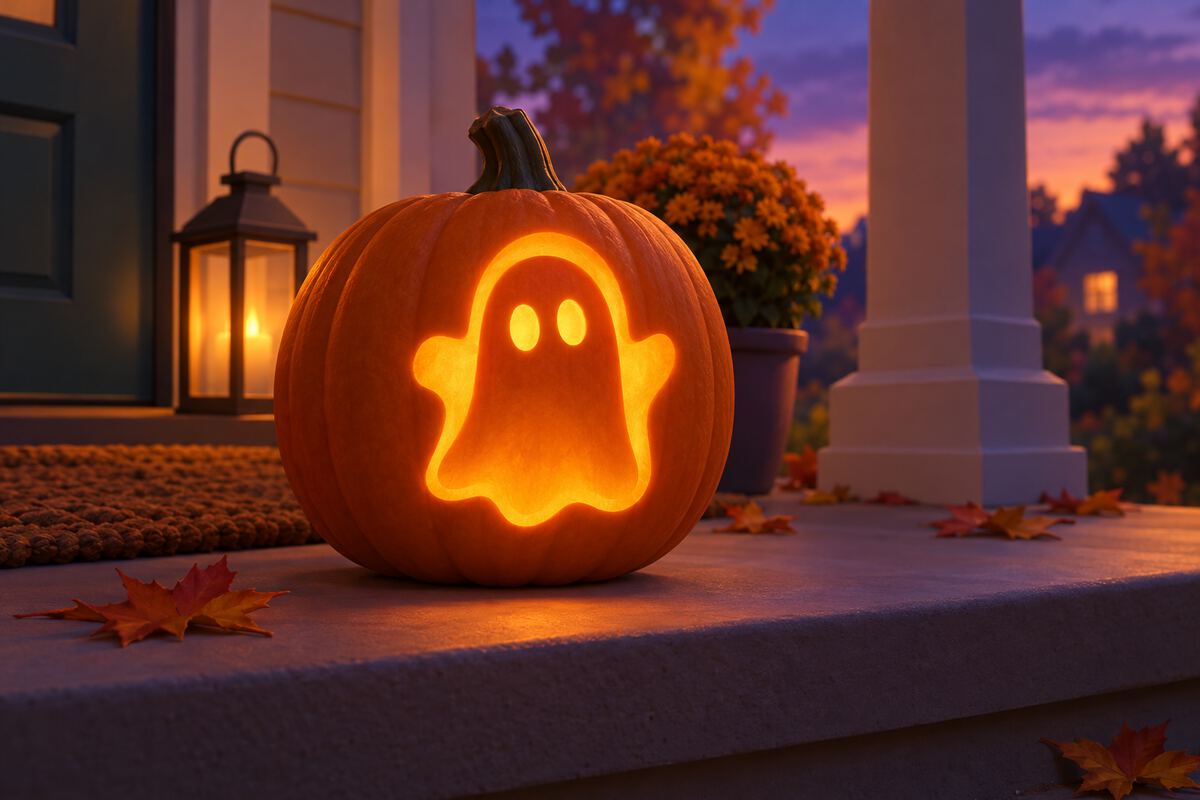
Ghost
One rounded shape with a face: pin the cut-out eyes back in with toothpicks.
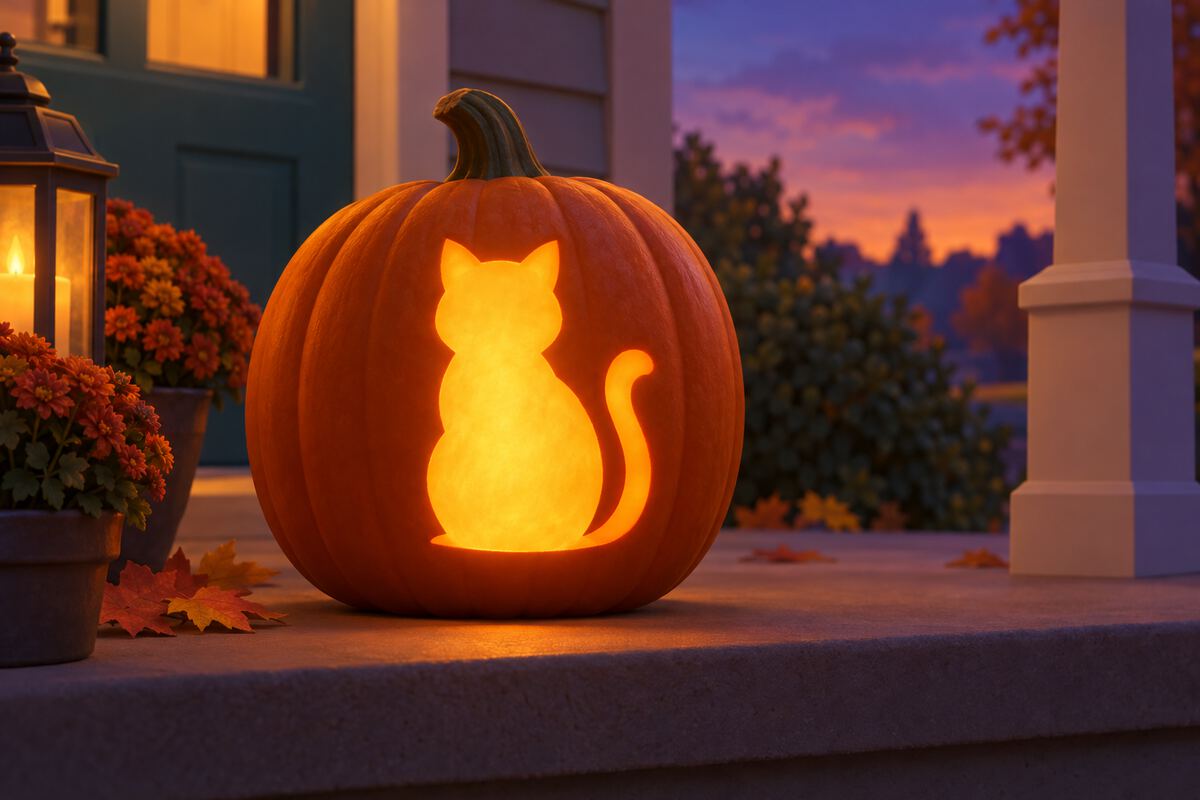
Black cat
A sitting cat cut out of the side. The stencil keeps the ears and tail thick.
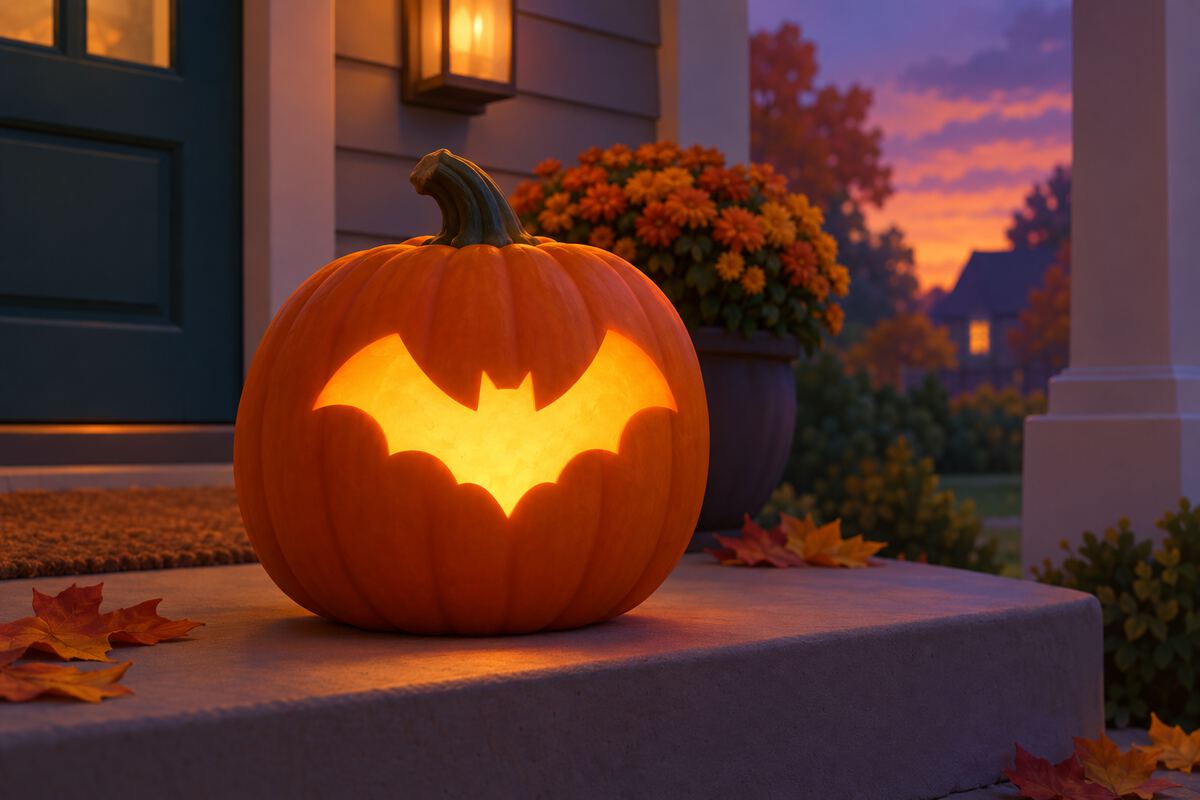
Flying bat
Wide wings, one shape. Tape the stencil on and trace with a pushpin.
On Kubrio, your kid can build a monster in Monster Maker and use its face as the design for the pumpkin.