
Robotics Studio · With Tek
How to make a cardboard robot
This course shows your kid how to make a cardboard robot from boxes, tape, and a pencil plan. In 4 short films, Tek covers planning with boxes, cutting and stacking with a grown-up, bendy arms and legs, and a face with buttons and a name. It takes about 3 minutes of films and 1–2 hours of building, away from the screen.
How to make a cardboard robot is part of Kubrio Learn: short courses that inspire kids to make things. Learn more
Watch all 4 lessons in the appWhat your kid makes
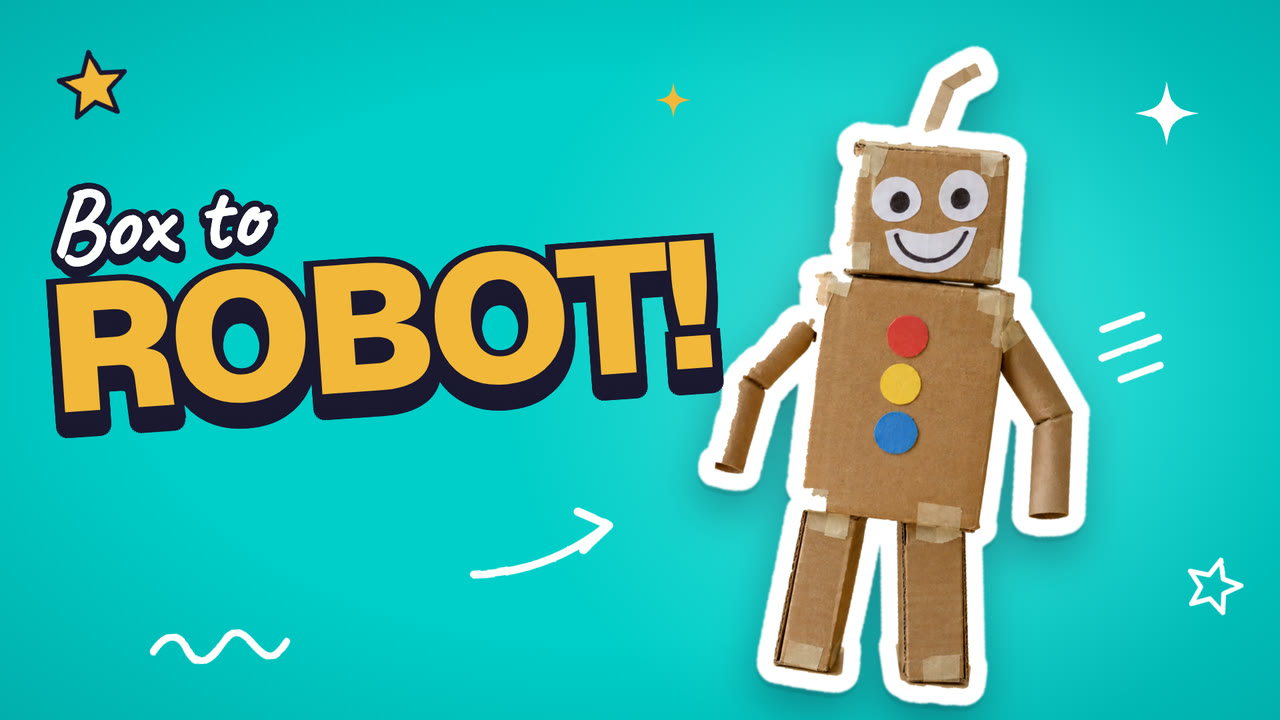
Your kid ends with a cardboard robot standing in the room, with bendy arms and legs, a face, three buttons, and a name, plus a little show for the family. If your kid already drew a robot in Dream up a robot, this is where it gets built.
- Ages
- 6 to 13
- Time
- 4 films, about 3 minutes, then 1–2 hours of building
- You need
- Paper, pencil, cardboard boxes in a few sizes, tape, glue stick, scissors, used by a grown-up, paper tubes or strips of card
- Host
- Tek
The 4 lessons
Lesson 1. Plan with boxes
Look at your boxes and draw a robot made of them.
- Line up your boxes from big to small
- Pick one for the body and one for the head
- Draw the plan on paper
Where: Paper
Lesson 2. Cut and stack
A grown-up cuts, and you stack and tape.
- Show a grown-up where to cut on your plan
- Stack the head on the body
- Tape every edge tight
Where: At home
In the app
Lesson 3. Arms and legs that bend
A fold in the cardboard works like a joint.
- Use paper tubes or strips of card for arms and legs
- Fold each one in the middle so it bends
- Tape them to the body
Where: At home
In the app
Lesson 4. Bring it to life
A face, a few buttons, and a name give your robot a personality. Bendy joints and a string make it move.
- Cut a face and three buttons out of paper, and glue them on
- Decide what each button does, and give your robot a name
- Tape a string to its hand, pull it to wave, and put on a show
Where: At home
In the app
Lesson 1 transcript: Plan with boxes
Hi, I'm Tek. See these boxes? They're not boxes. They're a robot!
Today you build a real robot out of boxes. One that stands in your room.
Get your stuff. Boxes in a few sizes. Paper tubes. Tape, a glue stick, and paper.
Line up your boxes, from big to small. The big one is the body. A small one is the head.
Now draw your plan. A box for the body. A box for the head. Tubes for arms and legs.
Got a robot blueprint already? Build that one!
Your turn. Line up your boxes. Pick a body and a head. Draw your plan on paper. Then press Next.
Free guides to practise with
Questions parents ask
Is cutting cardboard safe for my kid?
A grown-up does every cut in cardboard. The films say so every time scissors appear. Your kid cuts only paper, for the face and buttons, and plans, stacks, tapes, and decorates.
What boxes work?
Any clean boxes from around the house: cereal boxes, shoe boxes, delivery boxes. Two or three sizes are enough, plus paper tubes or strips of card for the arms and legs.
How much of this is screen time?
About 3 minutes of films. The building happens at the table with real boxes, tape, and a grown-up for the cutting.