
Halloween for kids Pumpkin painting ideas Polka dots
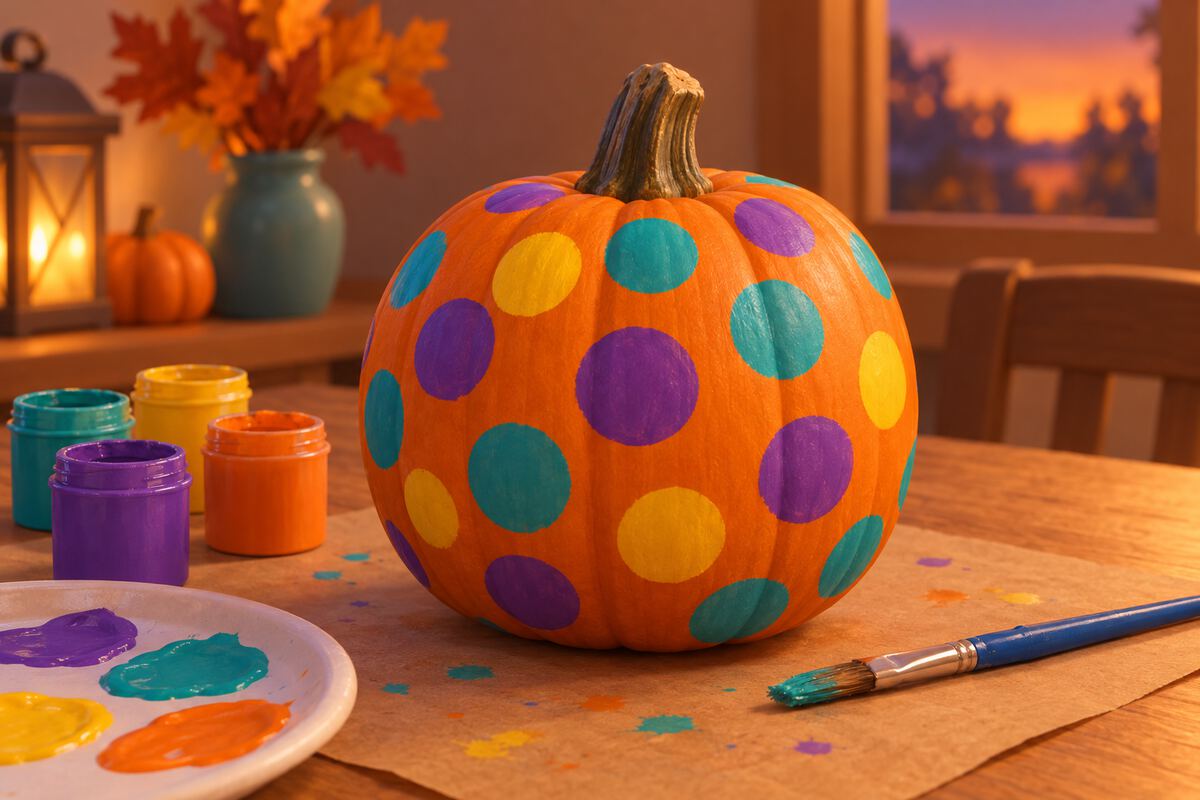
Polka dot pumpkin painting idea
Ages 6+ · about 20 minutes
To make a polka dot pumpkin, dip a pencil eraser or a cork in paint and stamp dots all over the pumpkin. No brush skills needed: every dot comes out round, and most kids finish in 20 minutes.
What you need
- A pumpkin, washed and dried
- Three or four colors of acrylic paint
- A paper plate for the paint
- A pencil with a clean eraser and a cork (or a cotton swab)
- Newspaper
How to make it
- Pour the paintSqueeze a small puddle of each color onto the paper plate, with space between them.
- Stamp small dotsDip the pencil eraser in one color, press it straight down on the pumpkin, and lift it straight up. Dip again after every two or three dots.
- Stamp big dotsUse the cork for big dots in a second color, in the gaps between the small ones.
- Fill the gapsAdd the last colors until the pumpkin looks full. Turn the pumpkin, not your hand, to reach the back.
- Let it dryLeave it for 20 minutes without touching it, so the dots don't smudge.
Tips by age
For younger kids
Use only the cork and one color at a time: big dots are easier to stamp than small ones.
For older kids
Plan a pattern first: rainbow rows, or dots that get smaller toward the stem.
More ideas like this
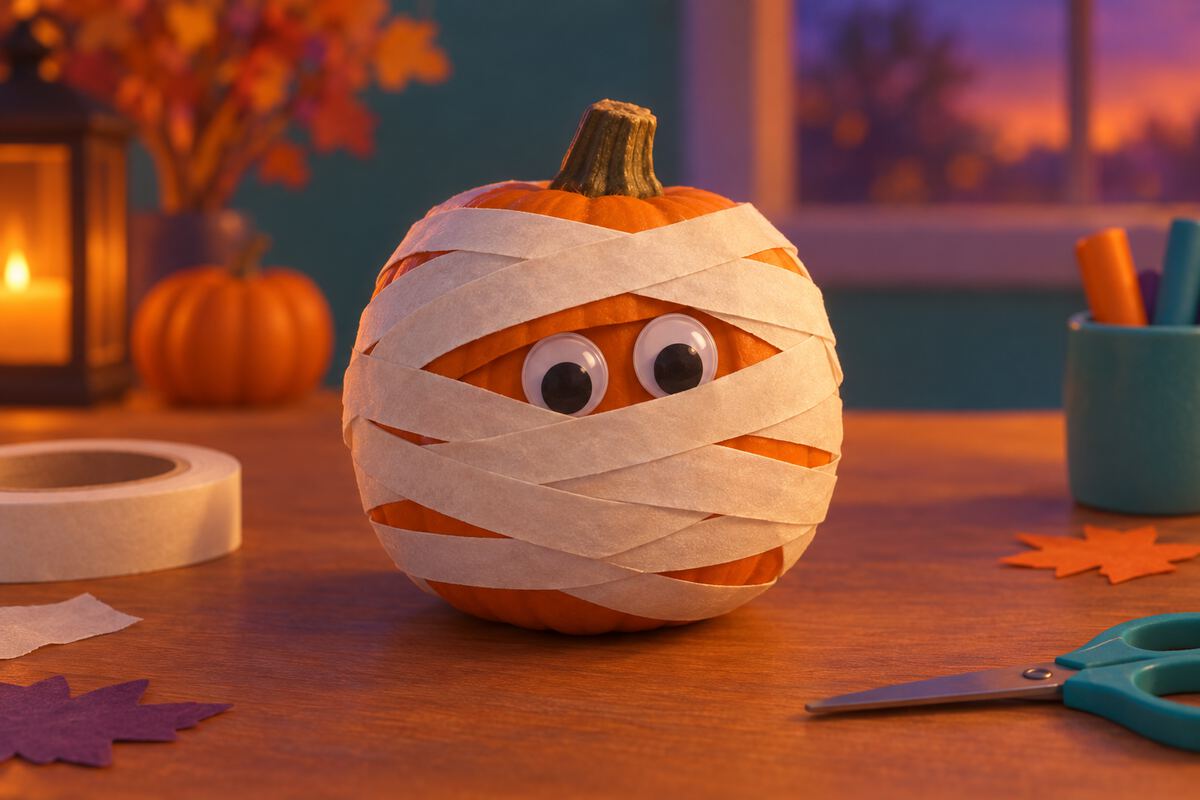
Mummy
No paint at all: wrap white masking tape around it and add googly eyes.
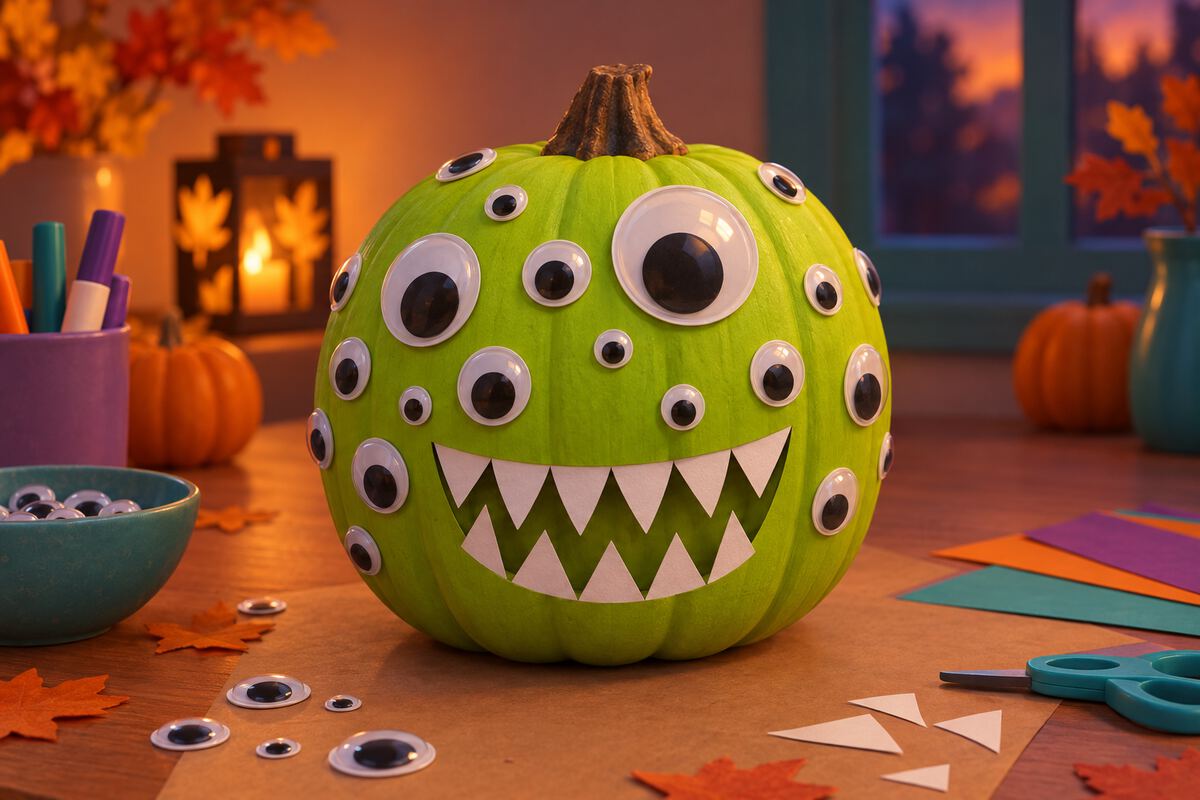
Googly-eye monster
Paint it green, glue on as many googly eyes as you like, and add paper teeth.
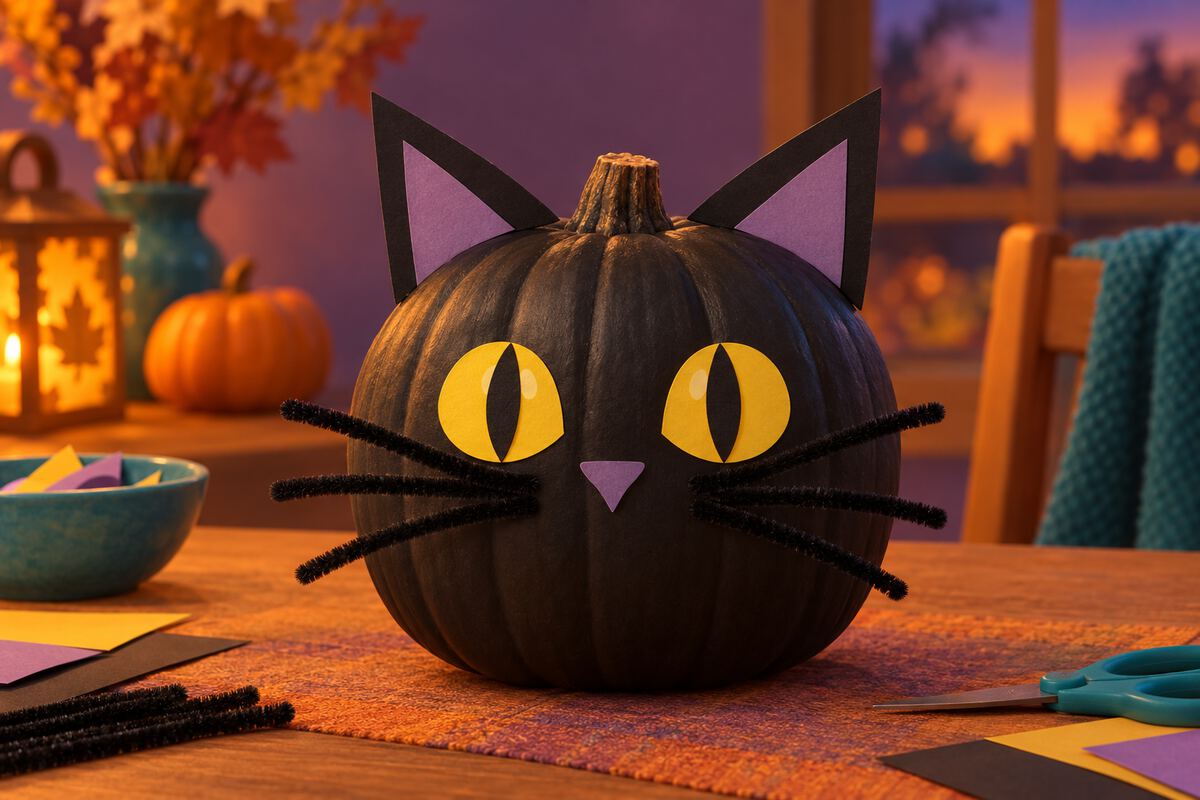
Black cat
Black paint, yellow eyes, paper ears, and pipe cleaner whiskers.
On Kubrio, your kid can draw the design on paper first, and that same drawing can become the star of a Halloween cartoon in Animation Studio.